How to make: an Irish Chain quilt (baby size edition)
If you’re looking for a timeless, classic and fast baby quilt, you’ve come to the right place.
NB: The pattern below is free however if you would like a printable version with more detailed instructions and additional sizes, you can find that here.
The instructions make an 52" x 52" quilt which is a very decent sized baby quilt (or maybe even a small throw)
Fabric:
Fabric A (Background- in my example I used the yellow) : 2 yards
Fabric B (Contrasting- in my example I used the cream): 1 yard
Backing fabric: If you can find one with a wider WOF, you can get away with 1.5 yards. Otherwise, depending on how many cuts you want to make, 2.5 - 3 yards
Binding fabric: 0.5 yards
Cutting Instructions:
Background Fabric:
- (5) 8" x Width of Fabric (WOF), subcut into (24) 8" x 8" squares
- (8) 3" x WOF strips
Contrasting Fabric:
- (10) 3" x WOF strips
Now it's time to sew!
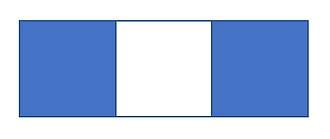
Take (2) 3" contrasting strips and (1) 3" background strip and sew together using 1/4" seam. Press your seams either open or to the dark colour:
Repeat to make a total of (4) strip sets that are contrasting-background-contrasting
Now take (2) background strips and (1) contrasting strip and sew together using 1/4" seams. Press your seams either open or towards the dark colour.
Repeat to make a total of (2) strip sets that are background-contrasting-background
Trim off the uneven edges and then from each strip set cut (14) 3" strips:
In total you will have:
(56) pieces that are contrasting-background-contrasting
(28) pieces that are background-contrasting-background
Now it's time to build our blocks! For each block, you will need:
(2) contrasting-background-contrasting pieces
(1) background-contrasting-background pieces
We will make 25 blocks in total. Press your new seams either open or to the side.
NB: You will have a few extra strip pieces left at the end
And now it's time to assemble our quilt!
First we will make the rows:
We need four rows that start and end with our small squares block. Press these seams either open or to the left.
And three rows that start and end with the solid block. Press these seams either open or to the right.
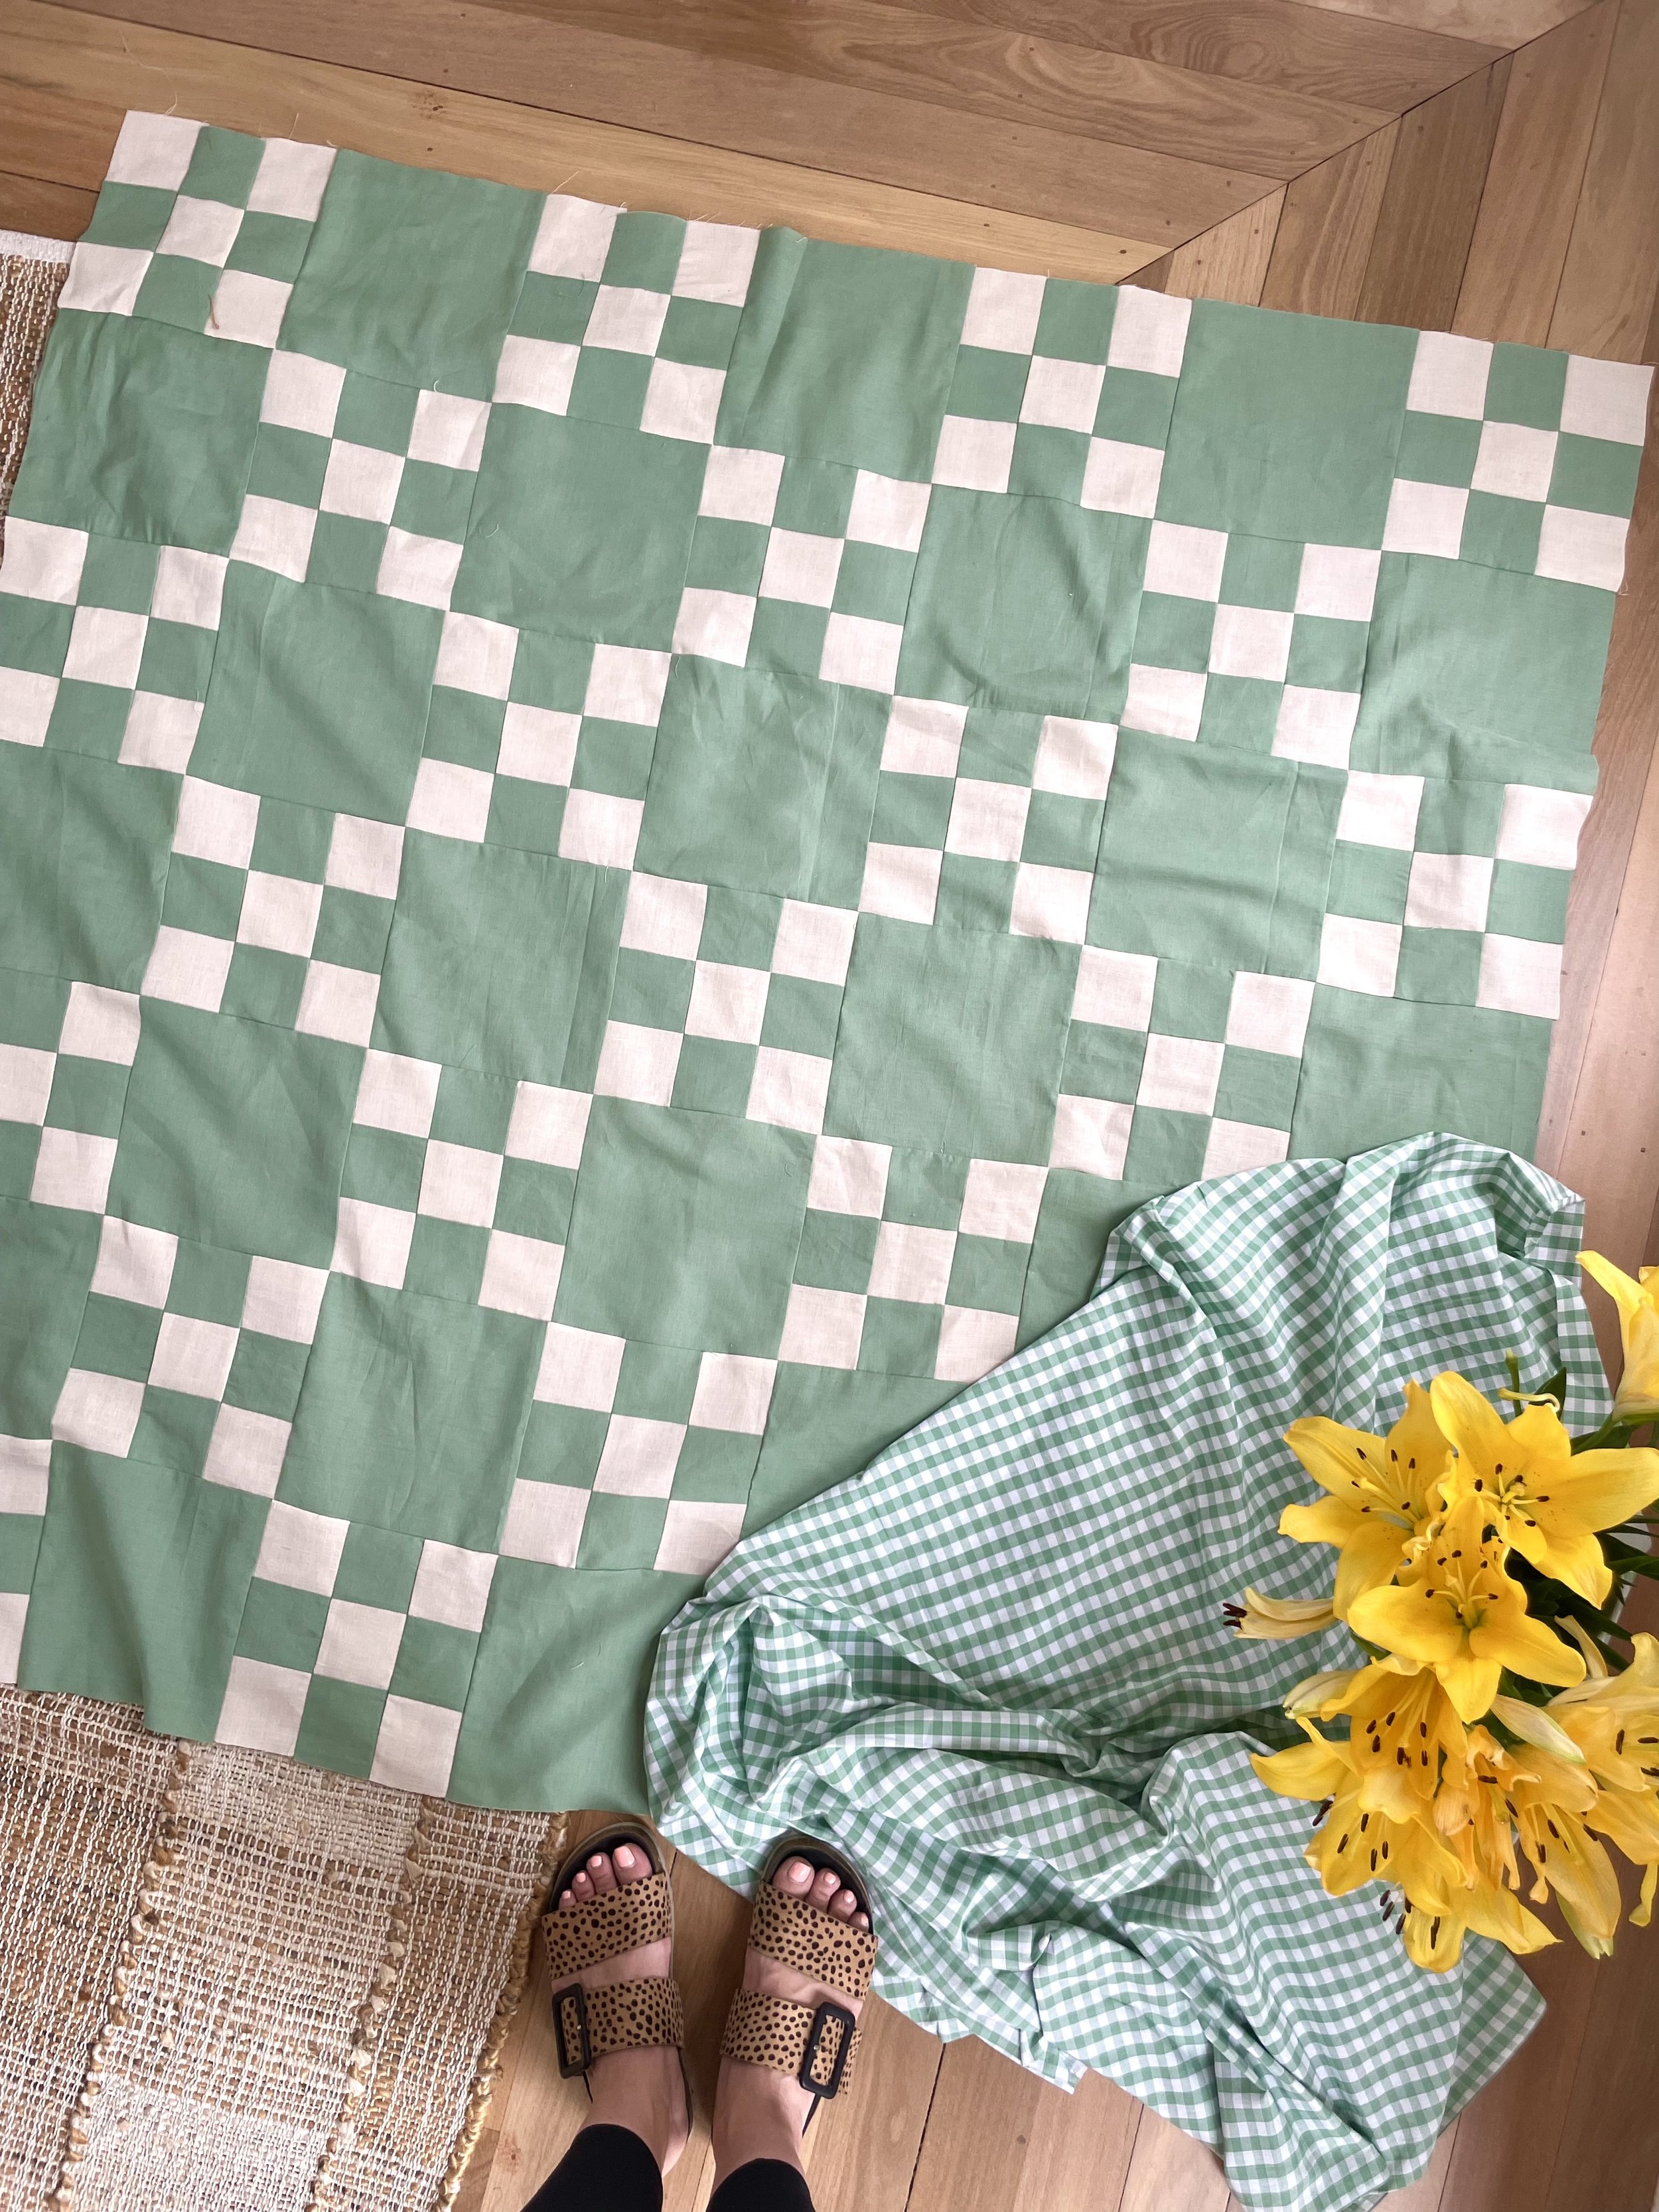
Then we can assemble our rows- the final quilt will be 7 blocks wide by 7 block tall:
And your quilt top is done! Baste, quilt and bind as desired.
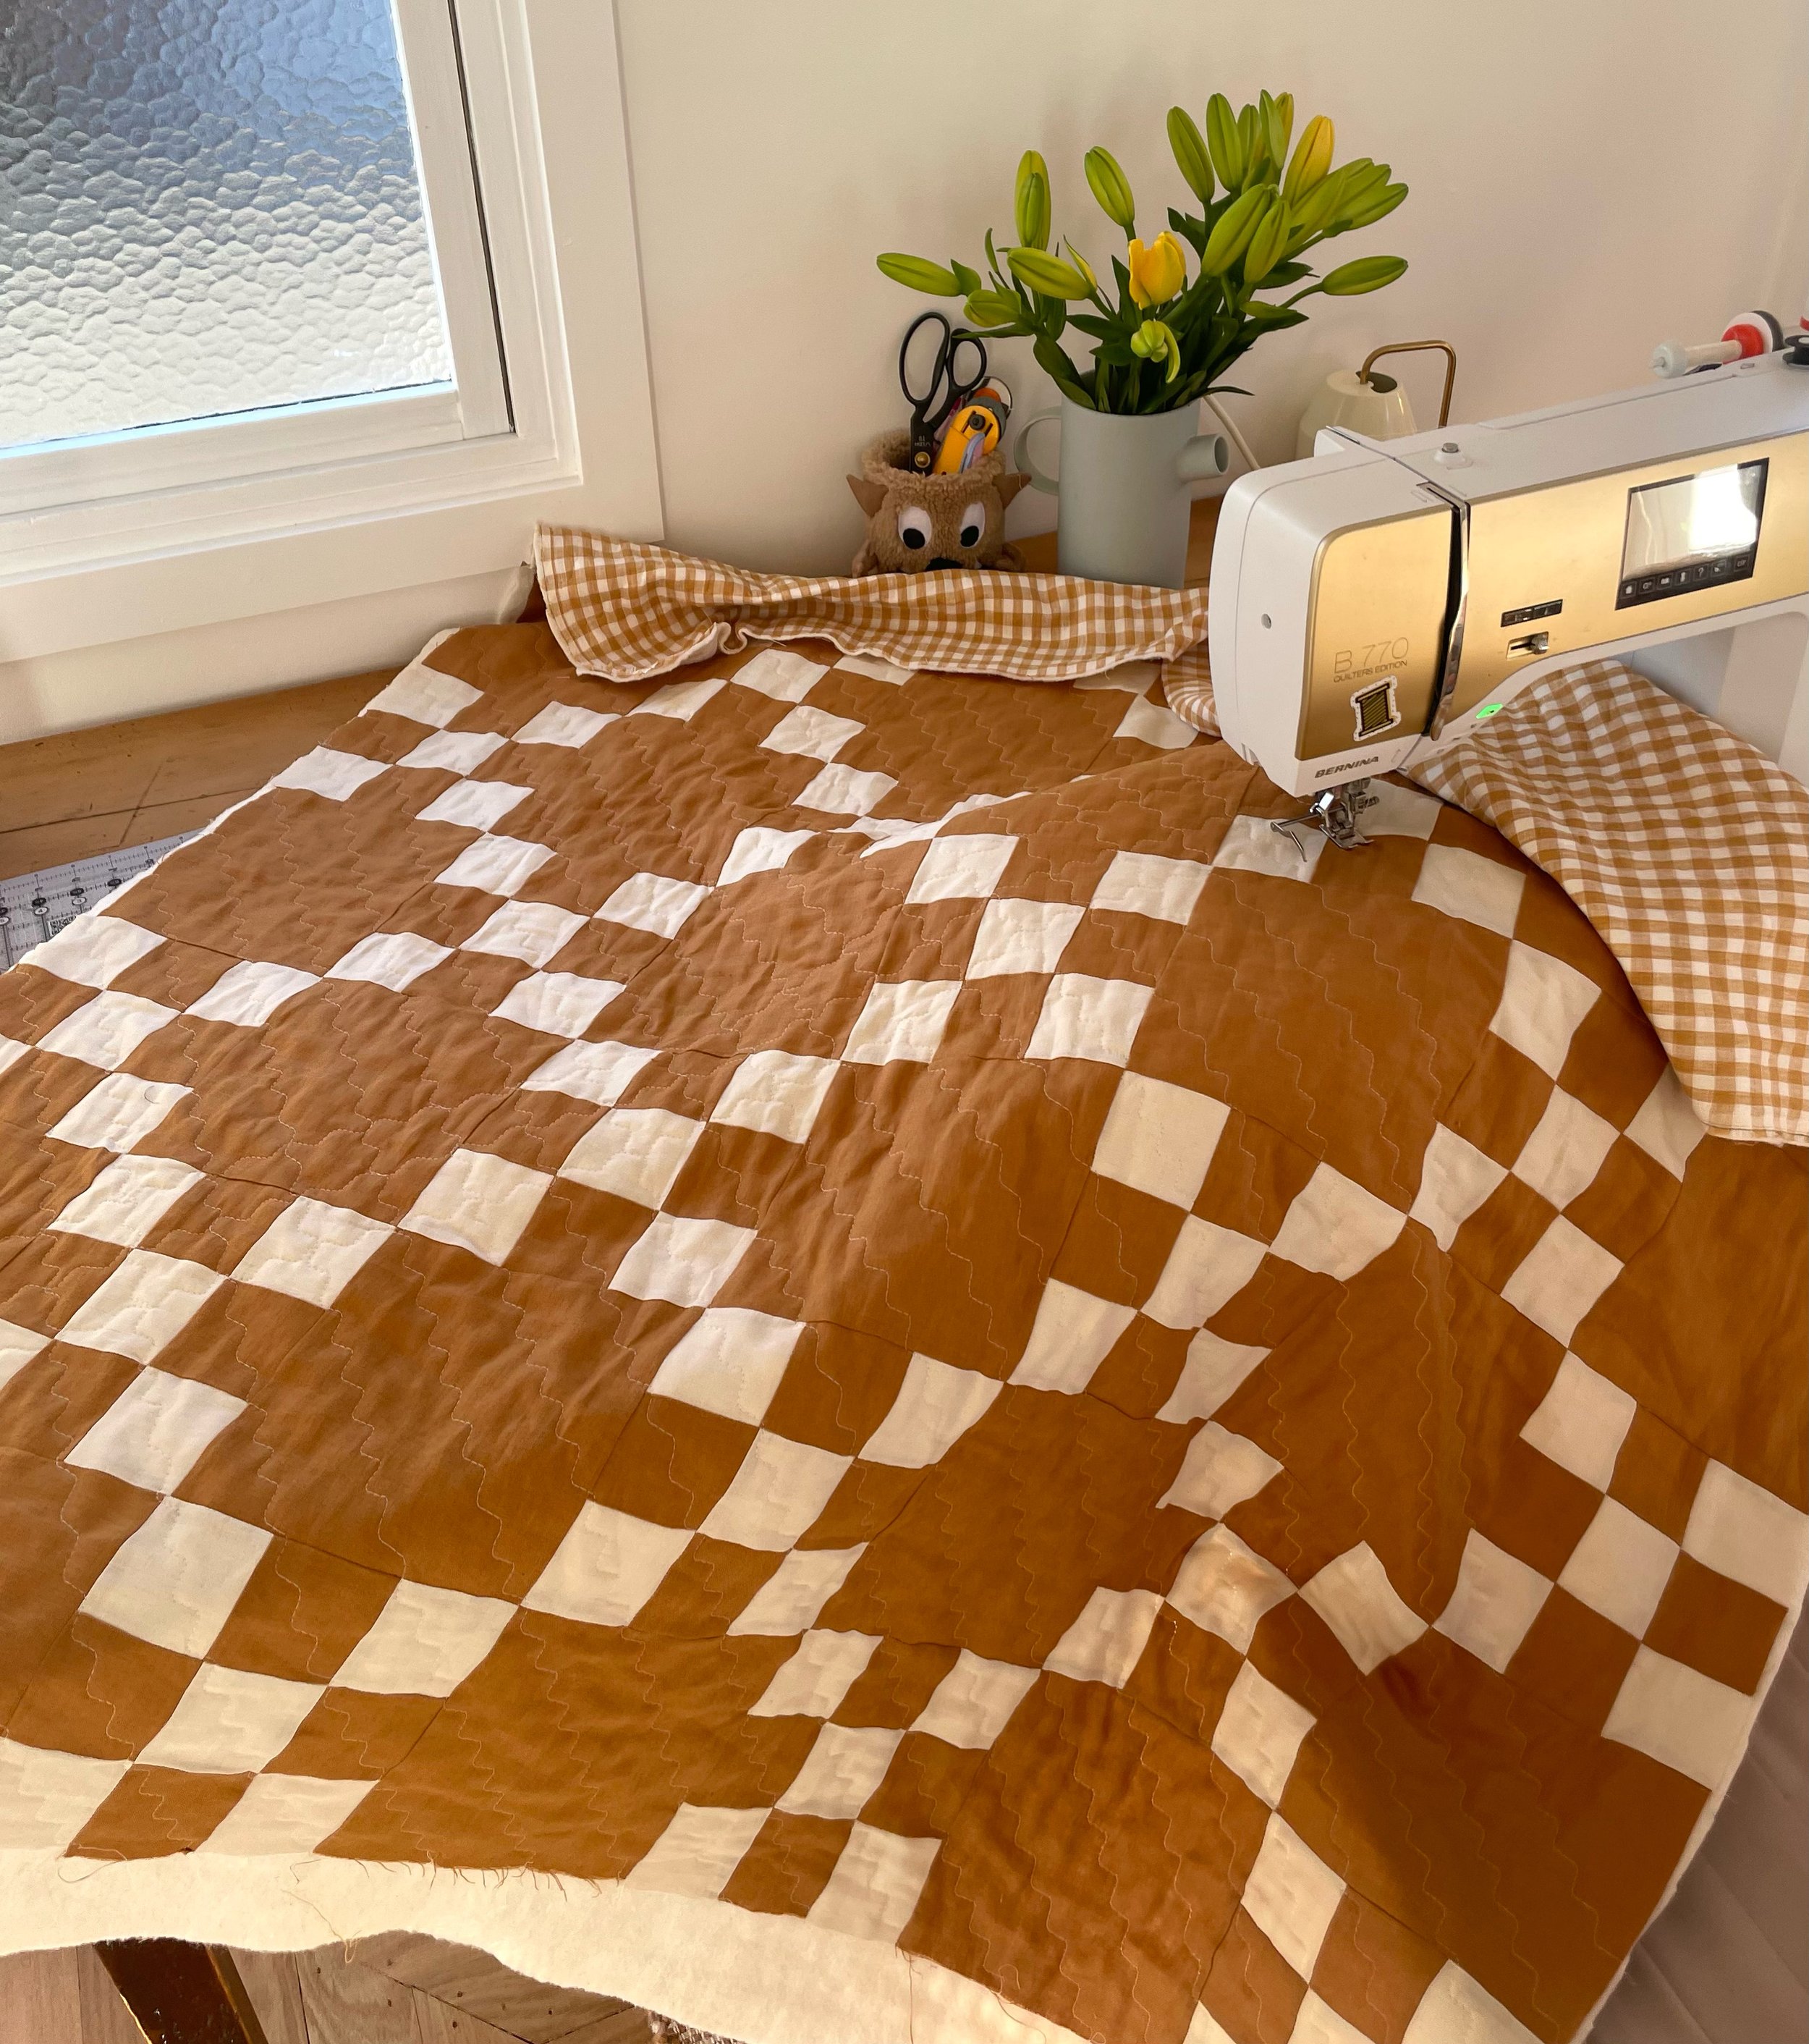
I used a matching gingham backing and the solid binding for a nice timeless look :-)
I did big wavy stitch on a diagonal (going in both ways) which formed this lovely pattern.
I hope you enjoy making this and let me know if you have any questions!


