
How to turn your Diamond Dots leftovers into a cushion cover
When I was designing the Diamond Dots quilt pattern, I wanted to keep it as simple as possible but there was also quite a lot of leftover pieces. Because I want my patterns to be as sustainable as possible, I added a couple of bonus cushion cover patterns. The instructions for making the pattern are included in the pattern, but this tutorial covers how to turn it into a lovely quilted cushion cover.

You need:
Sewing machine
Thread
Batting (see measurements below)
Basting spray or basting pins
Hand quilting supplies (optional)- DMC thread or Sashiko Thread, Needles
2 different fabrics:
Fabric B (Main fabric)- in my example, this is the rust/ brown colour- for consistency, I recommend making this the same colour as your background colour but it doesn’t have to be
Fabric C (inside fabric)- I used calico. You can use any fabric for this one as you won't see it as it's inside the cushion.
I used linen for my cushion cover- if you do choose to use linen, you may want to check out these tips and tricks for using linen.
Fabric amounts:
42" Width of Fabric (WOF)
Fabric B (main Fabric): 1 yard
Fabric C (inside): 1.75 yards
Fabric Cuts
Fabric B (Main Fabric)
(2) 21.5” x 14”" rectangles
Fabric C (Calico)
(2) 21.5” x 14" rectangles
(1) 24" x 24" square
Firstly we need to baste the cushion top and cushion back
Make the cushion top sandwich with three layers:
Completed cushion top
Batting (24” x 24”)
Backing fabric (24” x 24”)
You can either use safety pins or a basting spray to attach the layers together
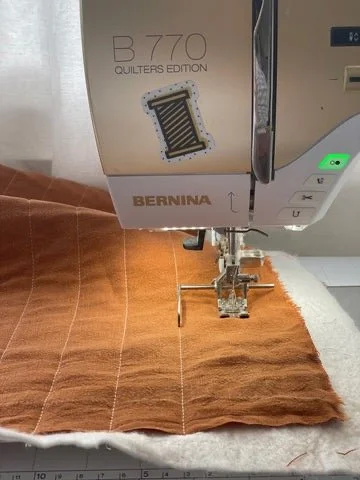
Quilt as desired. NB: In my example, I hand quilted it using a hera marker to draw the lines and DMC Perle 8 in Ecru with Tulip needles.

Trim the excess batting and backing fabric to the same size as the quilt top (21.5" x 21.5" total).
Next is making the two cushion back pieces. The quilt will have an envelope backing which means you won't need a zip :-)
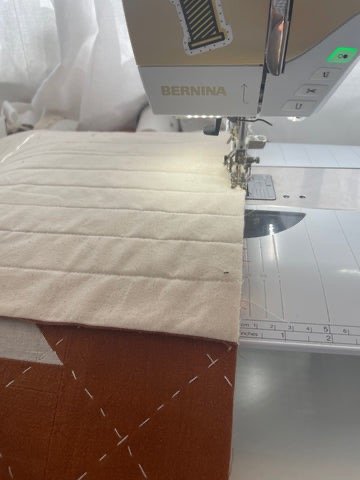
Take (1) Fabric B 21.5" x 14" rectangles piece and (1) Fabric C 21.5" x 14" rectangles piece and pin on top of each other, right sides together. Sew a 1/4" seam along one of the long edges. Repeat with the other two pieces of Fabric B and C.

Press the seam open and then invert the fabric so the seam is on the inside. Press flat.

Next up is making the quilt sandwich. Place your piece of batting between these two layers making sure it goes to the seam. Baste using either pins or basting spray. You will have some excess batting around three sides

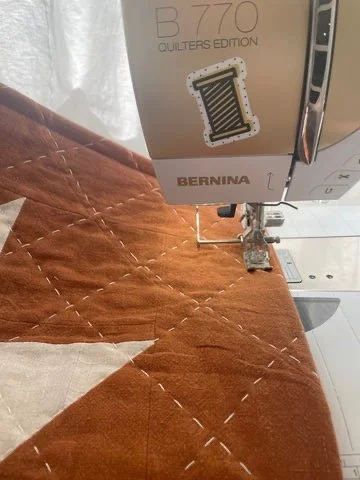
Quilt as desired.
Now we are going to put our cushion back and front pieces together. There will be an overlap between the two back pieces- this keeps your cushion insert snug and secure!

Place your cushion top and one of the back pieces right sides together (eg the pattern side of the cushion, and in this example, the rust side of your cushion back together. Make sure the finished edge of your back pieces are facing towards the middle.
Sew each back piece on individually. Pin the first piece on to the cushion top, right sides together, with the finished seam in the middle. Sew around three edges:

Repeat with the other piece. Back stitch where the fabric doubles up


Now it's time to turn your cushion in the right way. Make sure to properly push your corners out.
You can stop here however I highly recommend this final step for a really polished look and it doesn't take too long, I promise!
If you choose to not do this final step, inside your cushion, your seams will currently look like this:

Once your cushion is turned out the right way, give it a good press.
For the final step, sew around the outside of the cushion with a 5/8" seam
This gives it a nice border and also tucks in those unfinished seams. Your inside seams will look like this- so professional!

And your cushion cover is done! Stuff with a cushion insert and relax and admire your handiwork :-)

And here are a few finished snaps :-)

