How to make: (Another) simple stripy quilt
Do I need to change my name to Joz makes simple quilts? I might need to based on the number I seem to be making lately! I think I mentioned it in another post but I recently bought some nice pencils and dotted paper and love coming up with new simple designs, often times when I’m in a listening meeting at work- it helps keep me focussed on the topic of the meeting but also is where I get some of my favourite quilt ideas!
This tutorial makes a quilt thats approximately 62” x 68” and comes together in a jiffy. The quilt top is also very low waste- if you are able to purchase the exact amount of fabric (I’ve included both exact and rounded up fabric requirements), there is only one piece of fabric that is about 3” x 21” wasted. Not too shabby for Rachel :-)
So let’s get started!
Fabric requirements:
Width of Fabric (WOF) is assumed to be 42”- 44”
Fabric A (I used blue):
I want exact: 63'“ (1.75 yards / 160cm exactly)
Round it up a little for me: 2 yards / 1.75 metres)
Fabric B (I used cream):
I want exact: 24” (2/3 yard / 61cm)
Round it up a little for me: 0.75 yards / 70cm
Fabric C (I used caramel):
I want exact: 22.5” (0.625 yards / 58cm)
Round it up a little for me: 0.75 yards / 70cm
Binding fabric: 7 strips
Backing fabric: 3-4 yards depending on how many cuts you like to make
Cutting Instructions:
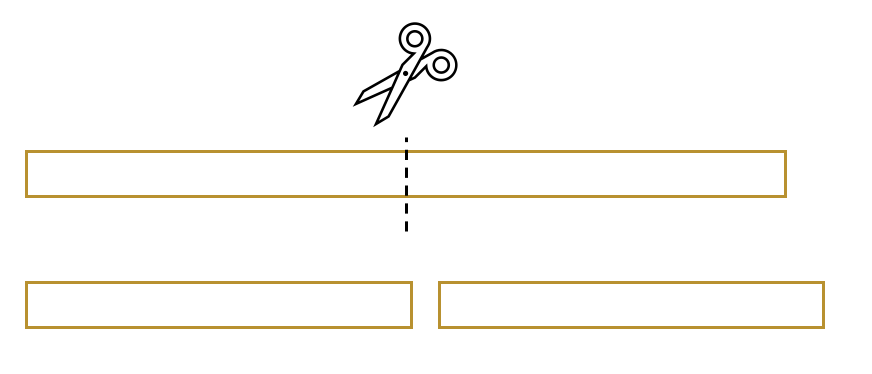
Fabric A: if not already, cut to 63” x WOF. Mark it halfway along the WOF (approximately 22”). Rip or cut (I find ripping to be easy and gives a perfectly straight line but this is totally up to you). At this stage, you may also want to remove the selvage.
Fabric B:
Cut (8) strips 3” x WOF.
Remove the selvage from each of them
Fabric C:
Cut (3) strips 3” x WOF
Cut (3) strips 4.5” x WOF
Remove the selvage from each of them
Instructions:
Fabric B:
- Take (3) of your cream strips and cut them in half (approximately 22” x 3”) You will have (5) strips that are WOF x 3” and (6) strips that are ~ 22” x 3” (it doesn’t have to be exact)
- Take (1) of your WOF x 3” strips and (1) of your 22” x 3” strips. Sew together short sides, right sides together, using a quarter inch seam. Press seams apart.
- Repeat four more times to give you (5) strips in total that are approximately 63” x 3”. Set aside.
- NB: You will have one extra strip which is 22”x 3”- you can add this to your scrap pile.
Fabric C:
- Take (1) of your WOF x 3” caramel strips and cut in half (approximately 22” x 3”).
- Take (1) of your WOF x 3” caramel strip and (1) of the 22” x 3” strips and sew together short sides, right sides together using a quarter inch seam. Press seams open.
- Repeat once more to give you (2) strips that are approximately 63” x 3”. Set aside.
- Take (1) of your WOF x 4.5” caramel strips and cut in half (approximately 22” x 4.5”).
- Take (1) of your WOF x 4.5” caramel strip and (1) of the 22” x 4.5” strips and sew together short sides, right sides together using a quarter inch seam. Press seams open.
- Repeat once more to give you (2) strips that are approximately 63” x 4.5”
Ok, we have all our strips cut and now it’s time to assemble! We will start from top to bottom, using 1/4” seam, right sides together sew each strip to each other. Press seams open after each line. I don’t usually sew my seams open but given there are so few, I highly recommend it for this quilt as it gives a really nice finish! If your strips are slightly different lengths, you can just line them all up on one side (say the left side) then trim the uneven ones on the right side off at the end.
I hope you enjoy making this quilt, and as always, let me know if you have any questions :-)


